How to Group Layers in Alight Motion – A Step-by-Step Guide
Grouping layers in Alight Motion is an essential technique that simplifies your workflow and helps you manage complex projects more efficiently. Whether you’re creating intricate animations or organizing multiple elements, understanding how to group layers can significantly enhance your editing process.
What is Grouping Layer in Alight Motion?
Grouping layers is a fundamental feature that allows you to combine multiple elements into a single layer, making it easier to manipulate and animate them collectively.
Step-by-Step Process to Group Layers
Launch Alight Motion on your device.
- Open an existing project or create a new one by tapping the “+” button and setting your project parameters.
- Navigate to the timeline where your layers are displayed.
- Tap and hold the first layer you want to group. Then, tap on the other layers you wish to include in the group. Selected layers will be highlighted.
- Once you have selected the layers, tap the “Group” button at the bottom of the screen. This button may look like a folder or a combined layers icon.
- Alternatively, you can tap the three-dot menu (⋮) in the upper right corner and select “Group Layers” from the dropdown menu.
How to Adjust the Group Properties?
- After grouping, the layers will be combined into a single group layer on your timeline.
- You can rename the group for better organization by tapping on the group layer and selecting the rename option.
- Adjust the position, scale, and rotation of the group layer just like any individual layer.
How to Edit the Group layers in Alight motion?
- To make changes within the group, double-tap the group layer to enter the group editing mode.
- Here, you can add, remove, or modify the individual layers within the group without affecting the rest of your project.
Ungrouping Layers
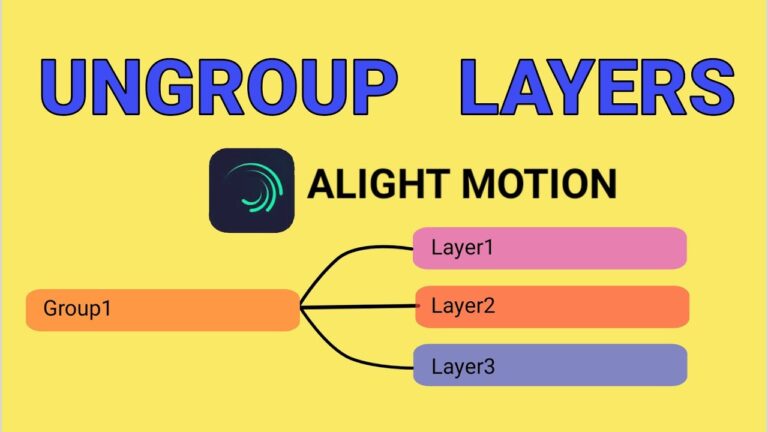
If you need to ungroup the layers, select the group layer and tap the “Ungroup” button, usually found in the same location as the “Group” button.
It will separate the grouped layers back into individual layers on the timeline.
What are Benefits of Grouping Layers?
- Simplified Management
Grouping layers helps you keep your timeline organized, especially when dealing with complex projects involving multiple elements.
- Consistent Animation
Animate grouped layers collectively to ensure consistent movement and transformations across all elements within the group.
- Enhanced Workflow
Grouping layers reduces clutter on your timeline, making it easier to focus on other aspects of your project.
Can I Animate a Group Layer in Alight Motion?
Yes, you can animate a group layer just like any individual layer. This allows for consistent animations across all elements within the group.
How do I Edit Individual Layers within a Group?
Double-tap the group layer to enter the group editing mode, where you can modify individual layers without affecting the entire project.
Is it Possible to Ungroup Layers in Alight Motion?
Yes, select the group layer and tap the “Ungroup” button to separate the layers back into individual elements.
Can I Name my Group Layers for Better Organization?
Yes, you can rename group layers by tapping on the group and selecting the rename option.
For more advanced techniques and detailed explanations on masking, “Masking in Alight Motion” can be handy.
Final Words
Grouping layers in Alight Motion is a powerful feature that enhances your video editing and animation workflow. By following the step-by-step guide provided, you can efficiently group and manage multiple layers, making your projects more organized and your animations more consistent.
Experiment with grouping and other advanced features to fully enjoy the capabilities of Alight Motion.


