How to Use Alight Motion for Beginners?
Are you new to the world of video editing and motion graphics and want a user-friendly app to start with? Alight Motion is one of the most powerful yet easy-to-use mobile applications designed for creating stunning motion graphics, visual effects, and animations directly from your smartphone.
Whether you’re looking to create simple transitions or complex layered animations, Alight Motion provides a wealth of tools to get started. In this beginner’s guide, I’ll walk you through how to use Alight Motion and help you become more comfortable with the app.
How to Use Alight Motion for Beginners?
Open Alight Motion
Before diving into the actual creation process, the first thing you need to do is download and install Alight Motion from your device’s app store. The app is available for PC, Android and iOS users. Once you’ve installed it, open it up to explore the main interface.
Step 1: Create a New Project
- Launch Alight Motion.
- On the home screen, you’ll see a ‘+’ button located at the bottom. Tap this to start a new project.
- Choose the resolution, frame rate, and background color for your project. If you’re unsure, you can start with the default settings: 1080p resolution, 30 fps, and a white or black background.
Once you have your project set up, the editing canvas will open, and now you can begin creating your animation or video.
How to use Alight Motion Interface?
When you start your project, it’s important to familiarize yourself with the app’s interface. Here’s a breakdown of the main elements.
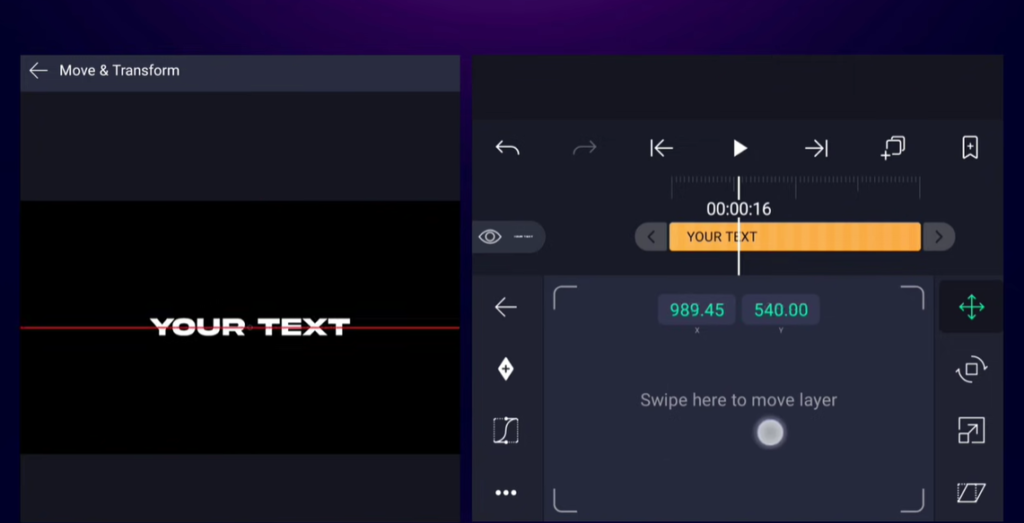
- Layers Panel: On the right side, this is where you can add new layers, such as text, shapes, or images.
- Timeline: This horizontal bar at the bottom shows your video’s sequence, where you can adjust timing for each layer.
- Tool Bar: Found at the bottom of the screen, it contains essential tools like play, undo, and redo buttons.
- Preview Window: In the center, this is where you’ll see your actual animation or video in real-time.
How to Add Elements to Your Project?
Now that you’re familiar with the layout, it’s time to start adding elements to your project.
Step 2: Add Shapes, Text, or Media
- To add your first layer, tap the ‘+’ icon in the layers panel.
- You can choose from:
- Shapes: Circles, squares, triangles, and more.
- Text: Add text to your project and customize the font, size, color, and alignment.
- Media: Import images, videos, or audio files from your device.
Step 3: Customize Layers
Once you add a layer, tap on it to open the customization options. It includes:
- Transforming Layers: Resize, rotate, or position layers anywhere on the screen.
- Color & Fill: Change the color, add gradients, or even use image fills for unique effects.
- Opacity: Adjust the transparency of any element to blend it smoothly with the background.
How to Create Simple Animations?
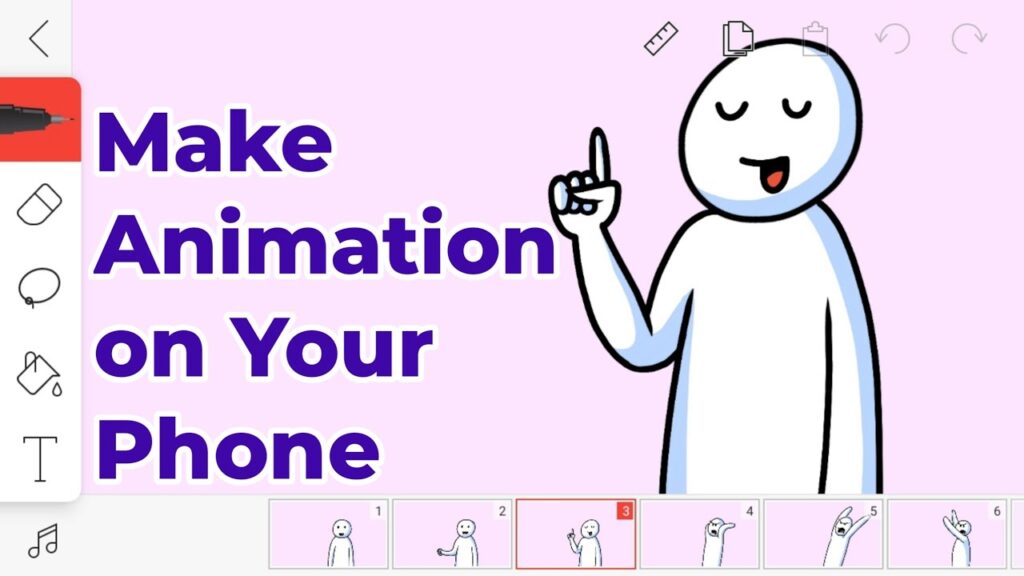
Alight Motion is famous for its animation features, making it ideal for beginners who want to add life to their designs.
Step 4: Keyframe Animation Basics
Keyframe animation allows you to create smooth transitions and movements over time. Here’s how to do it:
- Select any layer (text, shape, or image).
- At the bottom of the screen, tap the ‘Keyframe’ icon (a small diamond shape).
- Move the playhead on the timeline to a different point, and change the position, rotation, or opacity of the layer.
- Each adjustment will automatically create a new keyframe, resulting in smooth animation.
The timeline will show these keyframes as diamonds, and the app will automatically animate between the changes.
Step 5: Adding Effects
Alight Motion effects can enhance your animations, such as blur, glow, shadow, and many more.
- Select a layer you wish to apply effects to.
- Tap on the ‘Effects’ tab at the bottom.
- Choose from a wide range of options, from visual effects like glow or shadow to motion blur for realistic movement.
How to export Your Project
Once you’re satisfied with your project, it’s time to export it to share with friends, family, or social media.
Step 6: Exporting Options
- Tap the ‘Export’ button at the top right of the screen.
- Choose the export format. Alight Motion allows you to export videos, GIFs, and even individual image frames.
- Select your desired quality, resolution, and format.
- Hit ‘Export’ and save the file to your device or directly share it on your social media platforms.
Tips for Beginners Using Alight Motion
- Start Small: Don’t be overwhelmed by the app’s many features. Begin with simple projects and gradually work your way up to more complex animations.
- Use Tutorials: Alight Motion has an active community on YouTube where many creators share tips, tutorials, and project ideas. It’s a great resource for learning.
- Explore the Pro Version: If you enjoy using the app, consider upgrading to the Pro version for additional features like watermark removal, premium effects, and higher-quality exports.
Conclusion
Alight Motion is a perfect tool for beginners looking to step into the world of motion graphics and animation. With its intuitive interface and ideal set of features, you’ll be creating amazing videos in no time. Remember to start with simple projects, explore keyframe animations, and don’t be afraid to experiment with effects.
